
Alundra on PS1: Read the Room Before the Jump
Alundra rewards careful observation as much as quick sword swings. Its rooms combine height, movable objects, tools and timing. Before repeating a failed jump or pushing every block, work out what the room is asking you to change. A few notes and a reliable save routine make this demanding PS1 adventure much easier to follow.
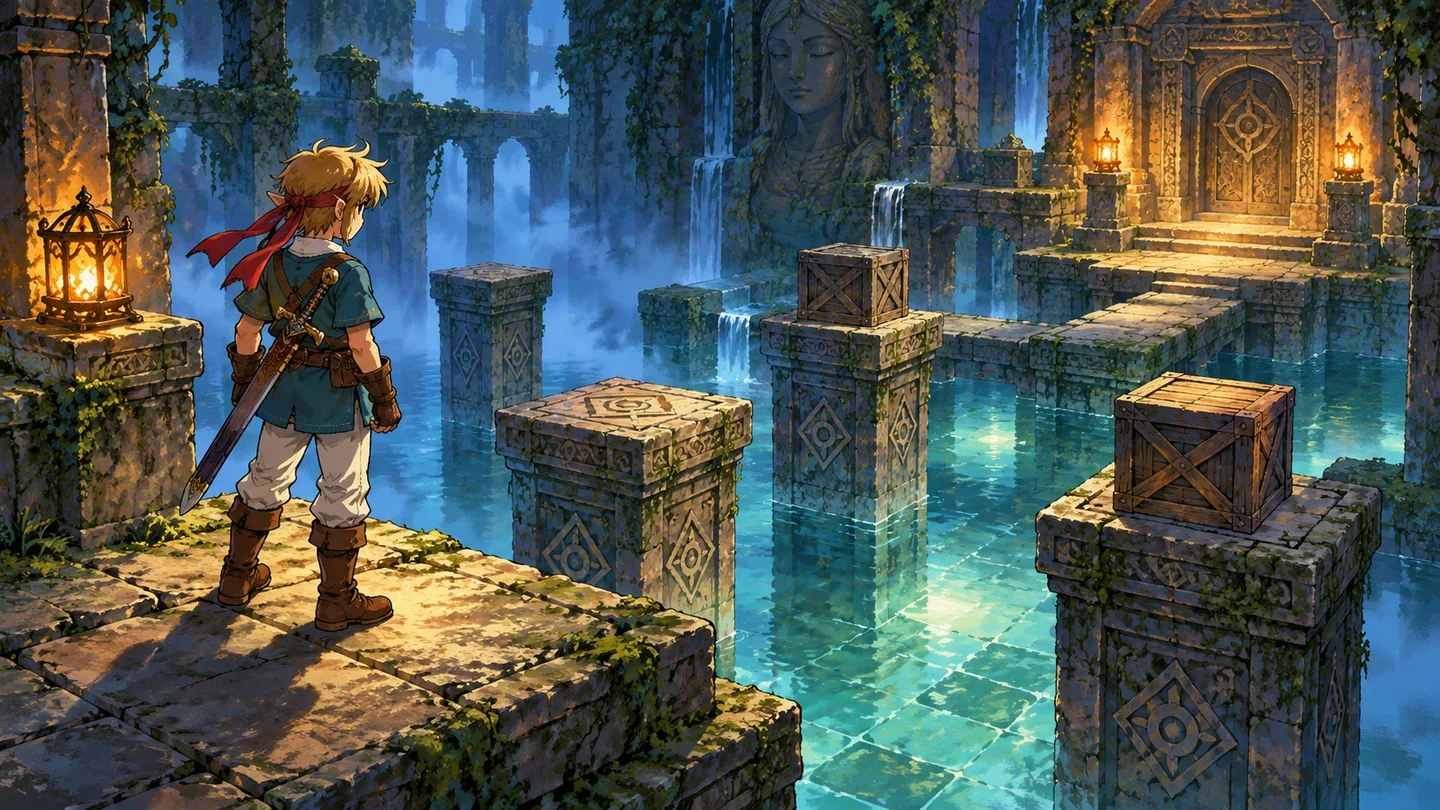
An action adventure with substantial puzzles
This guide concerns the first Alundra on PlayStation, also titled The Adventures of Alundra in some regions. You explore the village of Inoa and surrounding areas, enter dreams and solve dungeons with direct movement and combat. It is not a menu-driven party RPG, even though it belongs comfortably in a broad PS1 RPG discussion.
Expect a room to ask two questions: what is the solution, and can you execute the movements? Solving only one can leave you stuck. A correctly understood route may still require a more careful takeoff; a perfectly performed jump will not help if the platform needs to be reached by stacking objects first.
Inspect a puzzle before changing its state
Start at the entrance and identify the exit, switches, movable objects and differences in floor height. Then look for a relationship. Does a pressure plate need weight? Does a higher ledge suggest that an object can become a step? Can you reach the same platform from another side?
The official strategy guide describes using suitable objects to build steps. That does not mean every pot is valuable or every crate belongs on a switch. Test one object and observe whether it survives being thrown before committing to a long arrangement.
- Name the obstacle in one sentence.
- List the objects or mechanisms that could affect it.
- Change one thing.
- Watch and listen for the result.
- Restore your starting arrangement if the experiment did not help.
This method is especially useful when repeated attempts have made the room look more confusing than it did on arrival. If you need a walkthrough, search for the room rather than reading several dungeons ahead.
Use the shadow to judge your landing
Alundra's overhead view makes height difficult to read at first. A character sprite can overlap a platform while its landing position is still wrong. HLanna's original walkthrough recommends watching the shadow when aligning a jump; treat it as a guide to position rather than looking only at the character's head.
Practice a short jump on safe ground. Note where you stood, when you pressed the direction and where the shadow moved. For a narrow destination, change the starting position slightly instead of adding more frantic input during every attempt.
Do not rush the second jump merely because the first succeeded. Land, identify the next takeoff point and align again. If the same jump fails consistently, reconsider whether the route requires an object, a different angle or equipment you do not yet possess.
A new item can change an old route
Equipment affects exploration as well as combat. The manual explains that footwear upgrades open different movement possibilities, while weapons such as the Iron Flail can break certain obstacles. Revisit a remembered barrier when a new tool provides an obvious reason to do so.
| Obstacle | Useful question |
|---|---|
| A high or awkward ledge | Is there an object to stand on or another approach? |
| A brittle-looking obstruction | Does my current tool interact with this material? |
| Terrain that limits movement | Have I acquired the relevant footwear or traversal item? |
| An unreachable switch | Can an object or a different weapon reach it? |
Read the description of each upgrade rather than treating it as a larger damage number. This is the same habit that helps with the field tools in Wild Arms, although Alundra requires you to execute its puzzles in real time.
Learn what the weapon can actually do
Different weapons have different reach and special properties. A bow can attack from a distance; a flail may solve an environmental problem as well as hit an enemy. Charge behavior depends on the weapon, so do not assume that holding the attack button gives every item the same result.
Against an unfamiliar enemy, first observe the attack and recovery pattern. Then choose a safe opportunity for one or two hits. Trading damage repeatedly can hide the timing lesson and consume supplies before a puzzle-heavy stretch of dungeon.
Keep enough recovery resources for mistakes. If you are spending them mainly on the same jump, solve the movement problem before continuing. If combat is the drain, reconsider spacing or the equipped weapon. Those are different problems and deserve different adjustments.
Make Inoa visits part of the route
Return to town with a purpose: talk to people after events, check supplies and save. The normal diary save at Jess's house is an important checkpoint. The manual also explains the unusual shop interaction: take an item to the counter to purchase it, rather than expecting every shop to open a conventional list immediately.
Keep a small notebook of villagers, unfinished clues and places blocked by an item requirement. Avoid writing a full transcript. A line such as “chest beyond terrain I cannot cross” is enough to make a later equipment upgrade meaningful.
Dream sequences deserve particular attention before leaving. Original walkthroughs warn that they cannot all be revisited like ordinary outdoor locations. If collecting everything matters to you, use an edition-matched checklist before completing a dream rather than hoping to clean up every missed item at the end.
Common questions
Should I grind until a puzzle becomes easier?
Better equipment can help with some obstacles, but extra fighting will not explain a switch order or align a jump. Diagnose the room first.
Why keep several saves?
An older save preserves a point before a difficult section or a missed opportunity. Read our save guide before relying on only one emulator state.
Is Alundra 2 the same kind of continuation?
This guide covers the original game's protagonist, setting and systems. Do not use an Alundra 2 equipment or dungeon guide for it.
What if I prefer action to intricate puzzles?
Our MediEvil and Soul Reaver comparison offers other PS1 adventure styles to consider.
Sources and scope
Working Designs’ original Alundra manual; Working Designs’ official strategy guide, archived text; HLanna’s contemporary Alundra walkthrough. Edition facts are sourced; practical recommendations are editorial guidance. No personal gameplay or game-specific EMUspace performance test is claimed.